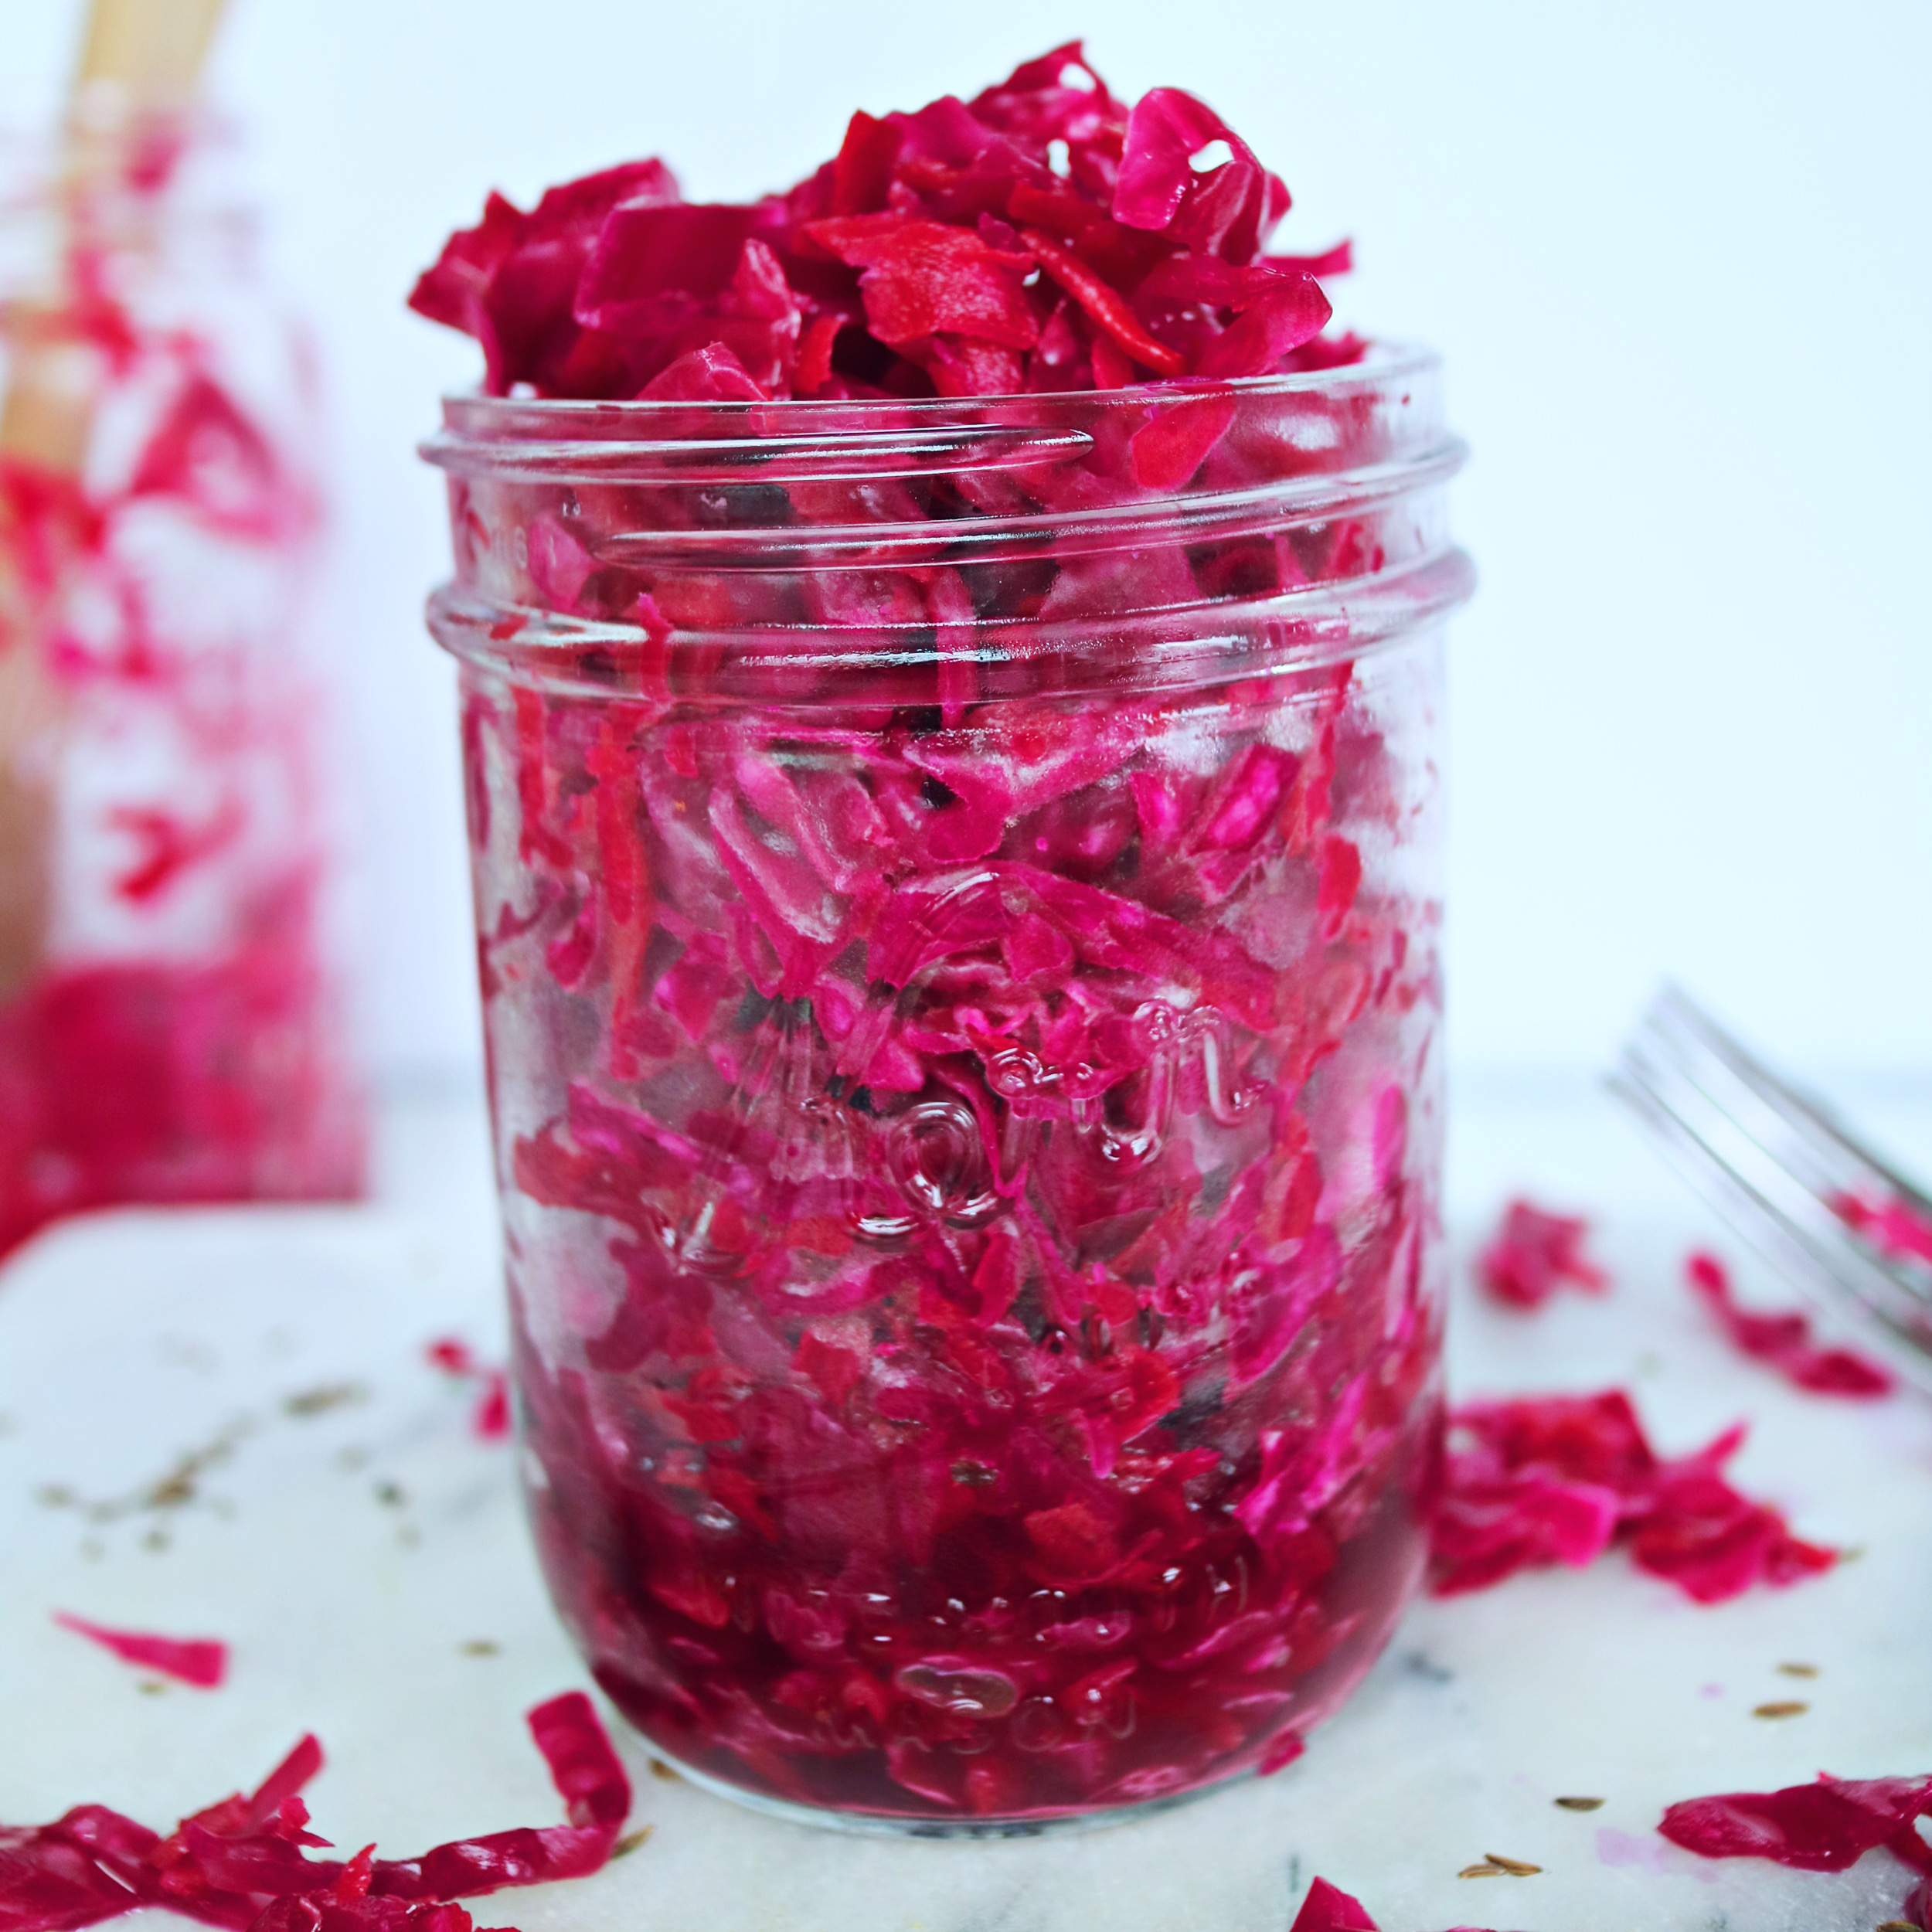
Sauerkraut was not something I really ever ate growing up. My husband, on the other hand, can’t get enough. Once we got married, I would buy it at the grocery store and eat it from time to time, but that was about it. It never wowed me. I’ll never forget when he asked me to start making it. He bought me a book about fermenting vegetables when I was pregnant with our 3rd child…with twin toddlers running around. Like I was ever going to have time to read it, let alone actually attempt to make anything!
The book sat for awhile. I briefly glanced at it, but it seemed intense. The only thing I had ever fermented was milk to make yogurt and that is super simple. This just seemed too complicated. Let me tell you, folks, it is not intense or complicated! After our little guy was born and out of the newborn stage, I decided to give it a go. I know, I know, I didn’t have time then, how would I now? You can always make time for the things you’re interested in! Going back to old methods of cooking and food preparation is a passion of mine and you can’t get more old school than fermenting! People have been fermenting for centuries, long before refrigerators, freezers, and canners.
I started with sauerkraut. My first batch didn’t turn out so well. Almost immediately, I realized I was using the wrong equipment. Not that fermenting requires fancy equipment, I just didn’t have the correct size jar and I was bound and determined to make it that day! I used a jar that was way too big for the amount of cabbage I had. Looking back, I should’ve just used 2 quart mason jars rather than trying to make a giant cookie jar work. Oh well, live and learn. So, my product was less than stellar. But, I bought me some half gallon mason jars (I never turn down an excuse to buy more mason jars), glass weights, and fermenting lids and all of my batches of ferments have been pretty much perfect since. The glass weights and fermenting lids are totally optional, but they make things so much easier! They are also extremely affordable and you can use them over and over. Have you seen the price of store-bought fermented sauerkraut, you know, the kind in the fancy refrigerated section at the health food store (no disrespect, of course!)? You will totally make your money back and then some if you buy that stuff often.
Sauerkraut and other fermented vegetables are not only an easy food preservation method (many ferments will last in your fridge for nearly a year, sometimes longer, although it never makes it that long in my house), they also come with quite a list of health benefits! Hippocrates even wrote about the benefits of sauerkraut!1
*Probiotics
These guys are prolific these days–the pill version, I mean. Fermented vegetables are chock full of beneficial bacteria and are way more affordable than probiotic supplements! They also contain digestive enzymes which delivers a double-blow to your digestive problems. Not saying ferments will solve all of your digestive problems, but they can play an integral role in the solution. Probiotics also have a host of other benefits including help with brain disorders, hormonal imbalances, cancer, and various autoimmune disorders.2
*Enhances vitamin content and makes nutrients more readily available
Fermentation not only preserves nutrients, it also can enhance them. Specifically vitamins B & C. Sauerkraut was a staple food of sailors to help prevent scurvy.1
*Enhances the immune system
This is mostly because of the probiotics contained in the ferment. Much of our immune system resides in our gut. If we have a healthy gut with a thriving population of beneficial bacteria, then our immune systems will be better for it!2
Fermented vegetables are not only good for you, they have a taste all their own. Some may say they don’t like them, but I doubt many of them have tried good fermented vegetables and sauerkraut. My boys all love sauerkraut and fermented pickled vegetables! They even like eating sauerkraut on their hot dogs, which makes me feel better about giving them hot dogs now and again. My husband takes a small jar of sauerkraut or fermented veggies in his lunch every.single.day.
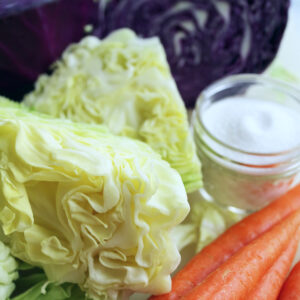
If you’re wondering what book my husband gifted me, it’s Fermented Vegetables by Kirsten and Christopher Shockey. They make fermenting easy and approachable, but also give you the tools and confidence to branch out on your own. And although I’m going to give you a start on how to make a batch of our favorite daily sauerkraut, I highly recommend you check out their book. Mine has been well-loved and I still use it as a guide for vegetables I have yet to try fermenting. So maybe test out a new hobby soon–your gut will thank you! Grab some cabbage, a few carrots, some salt, a couple quart or half gallon jars, and let’s get started!

References:
- https://www.ncbi.nlm.nih.gov/pmc/articles/PMC4268643/
- https://draxe.com/nutrition/sauerkraut/
This post contains affiliate links. This means that if you click on a link and make a purchase, we will receive a small commission at no cost to you. All opinions are still our own. Thank you for supporting Dishing Up Grace!
Sauerkraut with Carrots
Ingredients
- 2 heads cabbage I use 1 red and 1 green, feel free to use 2 of the same, if needed
- 3 carrots shredded
- 2 tsp caraway seeds optional
- 1-2 tsp salt sea salt, himalayan salt, or canning salt
- Tools: quart or half gallon mason jars a weight (glass weights or a zip top bag filled with water), fermenting lids or a clean towel and rubber band
Instructions
- Rinse cabbage heads and remove 1-2 of the outer leaves. Reserve these leaves to use as you primary follower (to keep the kraut under the brine--this is SUPER important).
- Remove core and slice cabbage thinly. This isn't an exact science. I slice off the "cheeks" of the cabbage around the core, cut off the top portion of the cabbage above the core (before it becomes a solid mass near the core), then cut into thin strips. Feed the core to your compost bin. Place all cabbage in a large, non-metal bowl, along with the shredded carrots (I peel the carrots then shred on a box grater). Add salt 1 Tbsp at a time, stir, then taste. It should be salty, but not overwhelmingly so. I typically use 1 Tbsp per head of cabbage, so you should need about 2 Tbsp for this recipe, depending on the size of the cabbage heads. Add caraway seeds (if using). Give all of the ingredients a good massage (stir and squeeze) with cleans hands for several minutes. Cover the bowl with a clean towel and let sit for 30-45 minutes. This allows the salt to break down the vegetables a little so they release water to create brine--this is VERY important.
- Once the mixture has been allowed to sit, give it another quick massage with clean hands and see how much brine has developed in the bottom of the bowl. There should be a decent amount (several tablespoons). If there isn't much brine, give the mixture another good massage and let it sit, covered, for another 30 minutes. If taste allows, add a little more salt. Again it should be salty, but don't go crazy.
- Once there is a good amount of brine, its time to pack the jars. With clean hands, begin placing handfuls of the mixture into a quart or half gallon mason jar. If using quart jars, 2-3 may be needed. If using half gallon jars, 1-2 jars should be needed, depending on the size of the heads of cabbage. I usually add 3-4 handfuls to the jar, then pack it down tightly with my fist. This also releases more brine. I continue this process until the jar is just over 3/4 full. Several inches of space is needed to place the weight and to allow for any bubbles that occur during fermentation.
- Once the jars are packed, take the reserved outer cabbage leaves and place on top of the cabbage mixture in the jars. This is called the primary follower. Press the leaf down to allow the brine to come over top of it and see if any of the vegetable mixture floats to the top. If it does, tuck it back under the leaf. All of the mixture needs to stay below the level of the brine. This is VERY important (I'm just going to keep saying that)! Next, a weight is needed, also called a secondary follower. I use glass weights, but a zip top bag filled with water works just fine.
- Once the cabbage mixture is weighted and submerged in brine, cover with a fermenting lid and ring or place several layers of cheesecloth or a clean kitchen towel over the jar, secured with a rubber band. Place the jar(s) in a cool, dark location (I put mine in a corner of my basement that has no windows) and allow to ferment for 7-14 days--set a reminder, especially if the location is out of sight. It is also a good idea to check on the jars each day or so to make sure the mixture is below the level of the brine. If it is not, pack it down.
- Take a taste test at 7 days by sticking a clean fork just under the primary follower to get a small amount of the cabbage mixture. It should smell and taste pleasingly sour and not taste overly salty. If you desire more sourness, let it ferment a few more days until the taste is to your liking.
- Once the kraut has finished fermenting, remove the weight, discard the primary follower leaf and pack the kraut and brine into clean jars. Cap tightly and refrigerate. This kraut should keep in the refrigerator for 6 months to 1 year.
Notes


