Do you find yourself with a little more time on your hands right now? Want to test out a new kitchen technique that’s pretty foolproof and doesn’t require any special equipment or tools? How about yogurt making?! I know, maybe not the most exciting thing in the world, but stick with me.
I think now more than ever, many people are trying to, or at least thinking about, tapping into skills of old. You can’t get much older than fermenting. Prior to modern refrigeration and canning methods, fermentation was the preferred method of food preservation. Milk fermentation dates back over 6,000 years to Central Asia.1 Fermentation also boasts many health benefits, namely probiotic content. Unless you’ve been living under a rock, you know that probiotics are good for your digestive and immune systems. Yogurt has long been touted as a favorite probiotic breakfast or snack food. Not only is it rich in probiotics, it also packs a protein punch to satisfy cravings and contains a significant amount of calcium to strengthen those bones!
But don’t get too excited just yet. Unless you’re buying only plain yogurt, many ready-made versions available in grocery stores are packed full of sugar or sugar substitutes potentially negating much of the health benefit. Sure, it’s better than eating candy, chips, or other non-filling, nutrient-poor foods, but we still want to avoid excess sugar where we can. There are a few brands out there making lower sugar versions of their flavored yogurts, but if you make your own, you can control the amount of sugar and other additives.
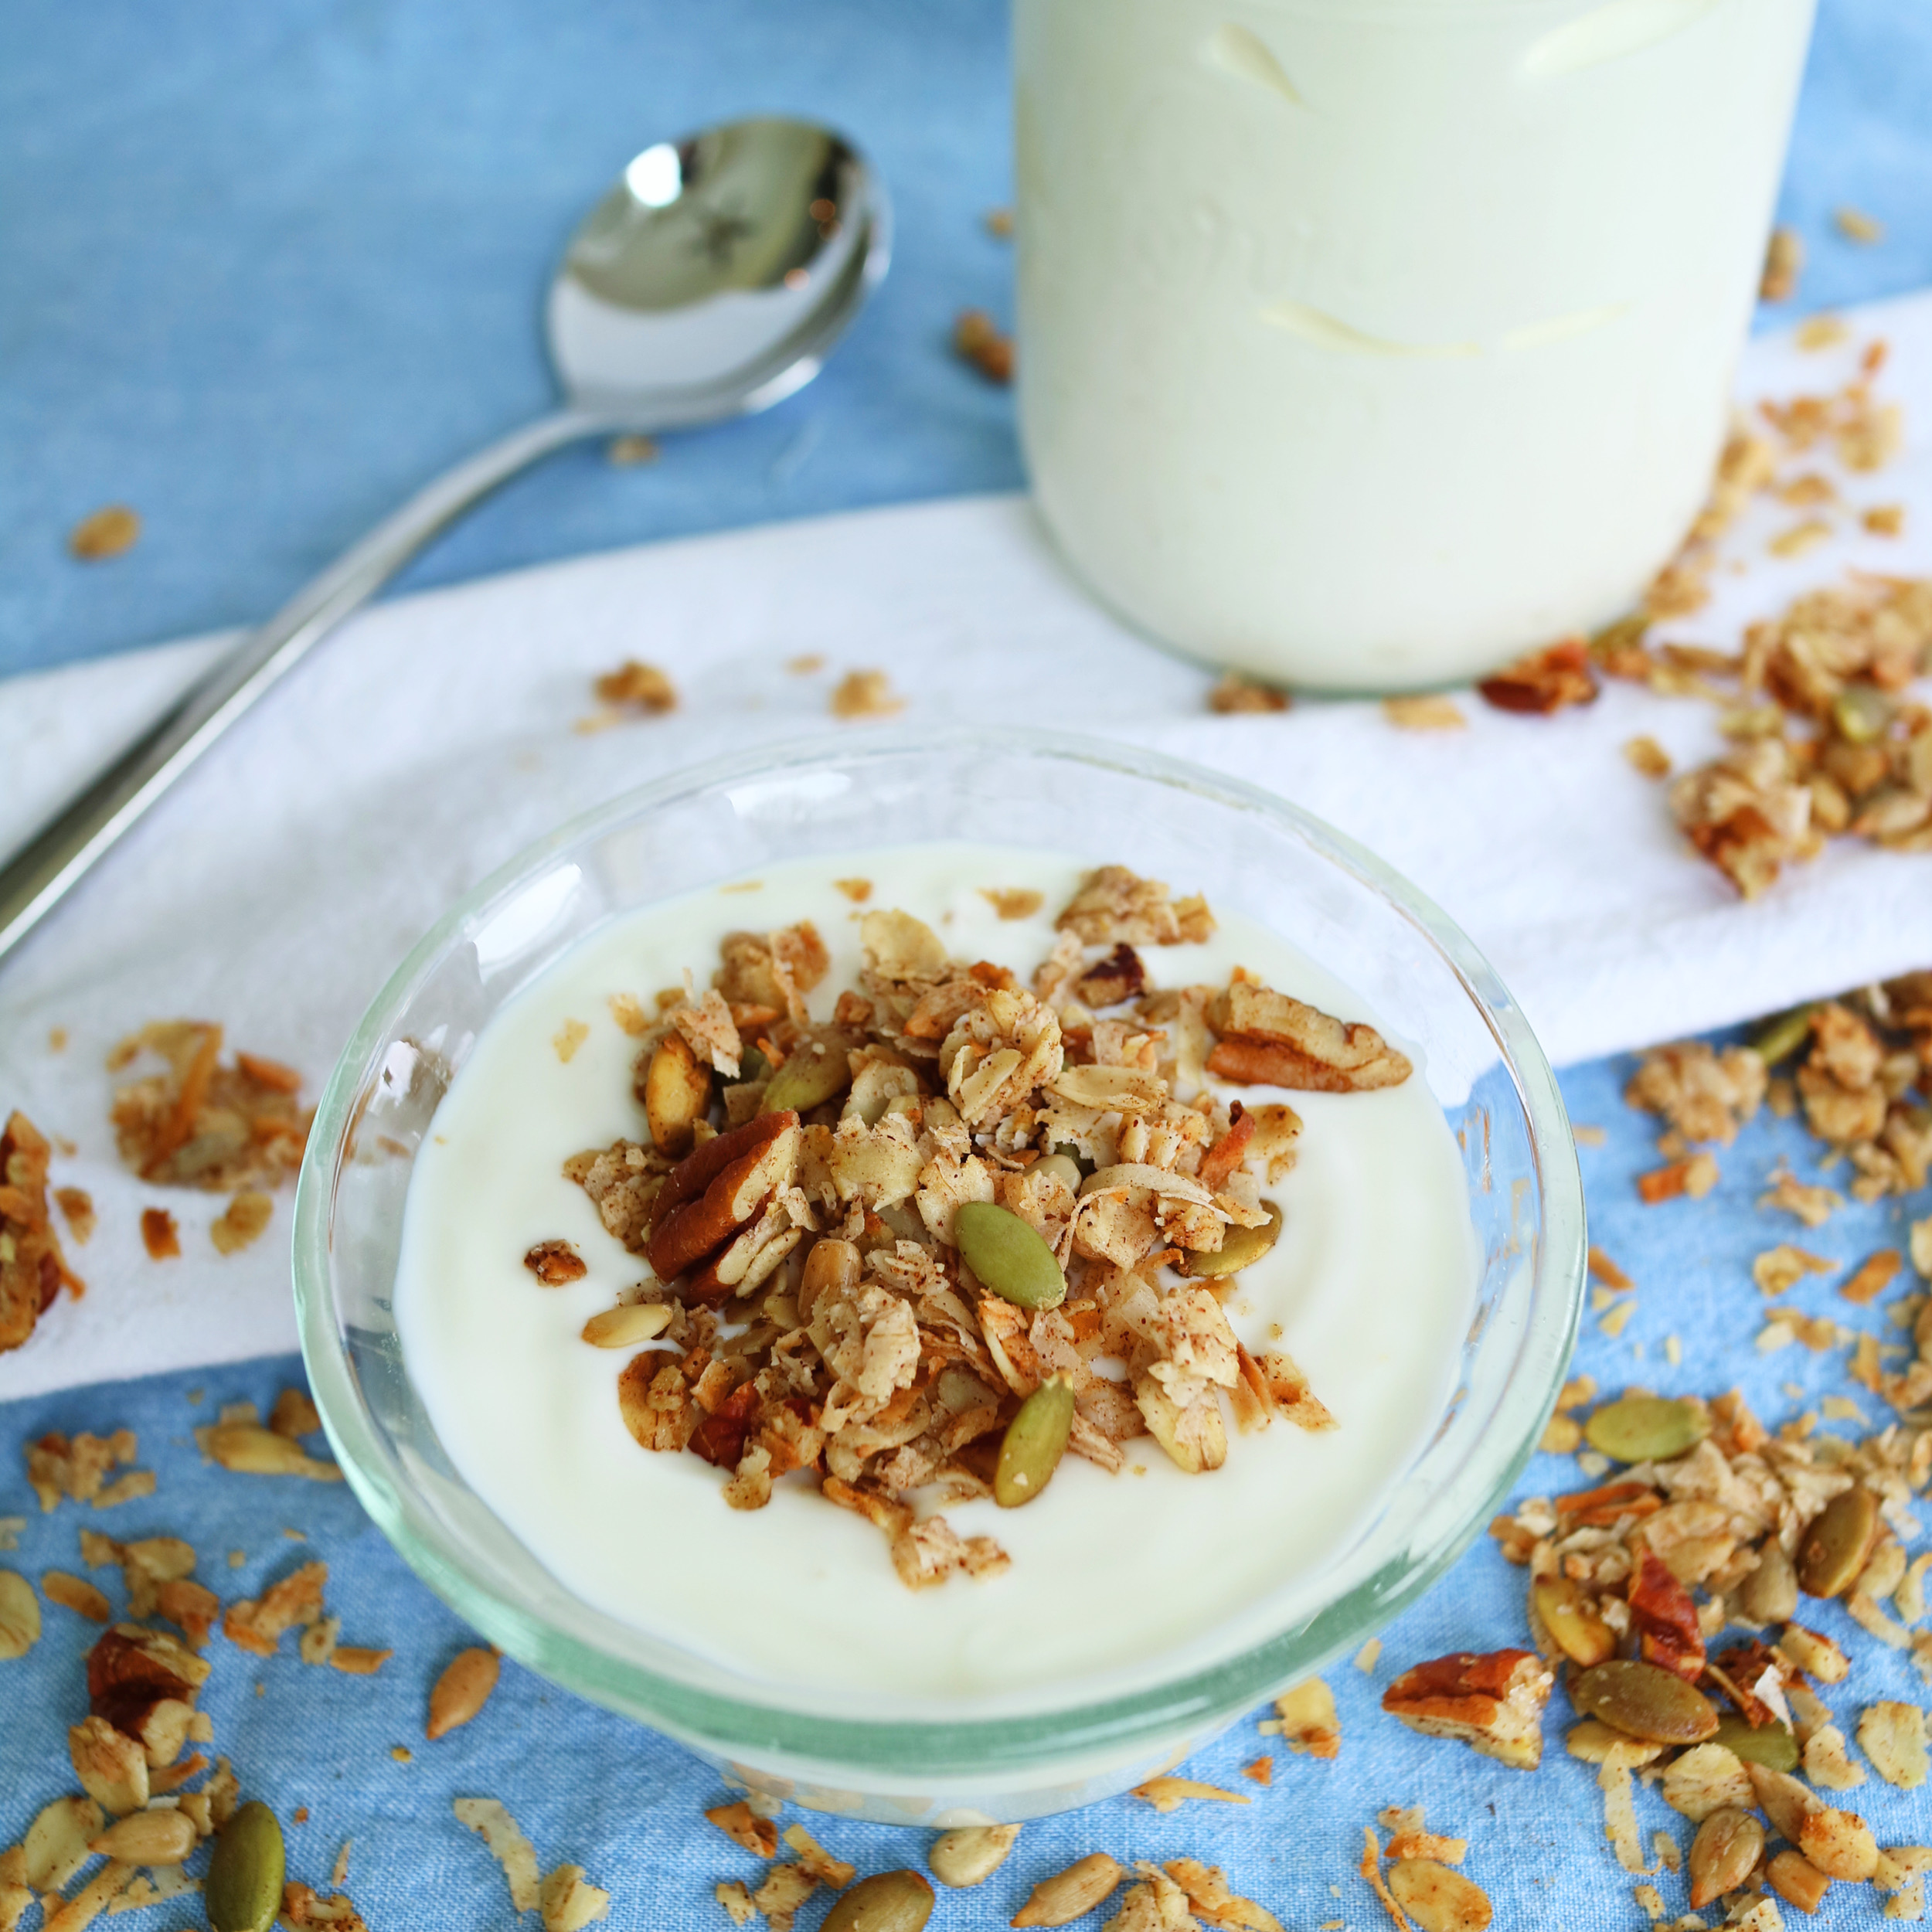
Yogurt was my introduction to fermentation. Now I can’t get enough (check out our Sauerkraut with Carrots post and recipe here to get more ferments in your life)! I probably tried it for the first time well over 10 years ago and I’ve been doing it ever since. I not only use it as an easy, gut-friendly breakfast or snack (my kids love it topped with this yummy Chocolate Chip Granola), but also in smoothies, baked goods, and mashed potatoes (it adds just the perfect tang!). And, it is seriously so easy to make!
As far as equipment or special ingredients, this requires almost none—mostly just standard kitchen and fridge fare. All you need is milk, grass-fed gelatin or dry milk powder (optional), a little bit of your favorite plain yogurt, a pot, and a kitchen thermometer. I know not everyone has a kitchen thermometer lying around, but they’re available at many home stores and certainly online. If you’re in the market for one, this one would be great. They not only work for yogurt, but also for deep-frying and many double as an instant-read thermometer for meat.
I typically make a half-gallon at a time. First, I add the milk to the pot, then sprinkle it with a little dry milk or grass-fed gelatin. This addition is totally optional, but it does help make the yogurt much thicker. Then, I attach the thermometer to my pot and heat until the milk reaches 180 degrees Fahrenheit. You scald the milk in order to get rid of any bad guy bacteria—we just want the good guys. Next, let the milk cool to between 110-115 degrees Fahrenheit. To speed up the cooling process, I place the entire pot in an ice water bath. Once the milk has cooled, add your culture (i.e. your plain, store-bought yogurt), stir, cover, and place in a warm location for about 12 hours or overnight. Most of the time, I just allow the milk to ferment in the same pot in which I scalded it. Sometimes, I put it in a large glass measuring cup because I walk outside while the milk is heating and accidentally burn some of the milk at the bottom of the pot—just like in this picture! Both methods work, but I recommend NOT going too far while your milk is heating. If the milk boils over, it makes a royal mess. Speaking from experience here.
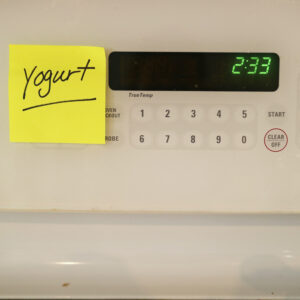
I want to talk about that warm fermenting location for a quick minute. Many sources will tell you to wrap your fermenting vessel in a heating blanket or to buy some kind of fancy yogurt-making appliance. Forget all that. Sure, those things work, but they’re cumbersome and/or expensive. I’ve found that the best place to ferment yogurt is in the oven with just the oven light on. The light puts off just enough heat to keep fermentation going, but not kill off the probiotics. Just be sure to leave yourself a little note that your yogurt is in there so you don’t accidentally cook it! Again, speaking from experience.


Scroll down for the complete instructions and let’s make some yogurt!
- https://draxe.com/nutrition/probiotic-yogurt/
This post contains affiliate links. This means that if you click on a link and make a purchase, we will receive a small commission at no cost to you. All opinions are still our own. Thank you for supporting Dishing Up Grace!
Homemade Yogurt
Ingredients
- ½ gallon milk whole milk works best, but other types are OK if using gelatin
- 2 tsp grass-fed gelatin 3 tsp if using lowfat milk or ¼ cup dry milk powder (optional, but yogurt will be thinner)
- ½ cup store-bought plain yogurt with live and active cultures I like Stonyfield Whole Milk Plain Yogurt
Instructions
- Pour milk into a 2-quart or larger pot. Sprinkle with gelatin or dry milk powder and stir. Attach kitchen thermometer to pot and heat milk on stove over medium heat until thermometer reads 180 degrees Fahrenheit, stirring frequently. Remove from heat and allow milk to cool to 110-115 degrees Fahrenheit. To speed up the cool down, place pot in an ice water bath, just be sure the ice water does not get into the milk! In an ice water bath, this cool down usually takes 10-15 minutes.
- Once the milk temperature is between 110-115 degrees Fahrenheit, add the store-bought yogurt and stir well. Cover pot or with lid (or transfer to your container of choice) or plastic wrap and place in oven with just the oven light on for 10-12 hours or overnight.
- Once the fermentation time is complete, place the yogurt in the fridge to chill (and store) and enjoy with your favorite toppings or in your favorite recipes! Try our Cinnamon or Chocolate Chip Granola here!

